Why This One
We've built more than 200 simulators. Most of them are good. A smaller number of them are ones we keep pulling up when a new client asks what the ceiling looks like for a truly custom build. This Sonoma project is that conversation for us right now.
It's not the most expensive thing we've ever built. It's the one where every major decision on the job, from the ceiling geometry to how the LED trim terminates at the floor, required us to either invent a solution or fabricate one from scratch. Nothing was standard. Nothing was bolted together from a kit and called done.
The client gave us a room and a vision. We framed the enclosure like a piece of furniture that happened to house a ProTee VX.
The Room Came First
Most simulator builds start with the equipment list and work outward: screen size, then enclosure, then the room adjusts to fit whatever's left. That's fine for standard installs. It's not how this client wanted to think about it.
The brief was simple: the simulator should look like it belongs in the home. Not like something the homeowner tolerated. Like something they chose.
Golf simulators, at least the enclosures, have absolutely nothing to do with golf. You're really just building something in a sense that you build a garage. A garage has nothing to do with the car parked in it other than it houses it.
Cameron Smith, Lead InstallerThat framing changed how we approached every decision on this job. The trim wasn't there to cover gaps. The paint wasn't a finishing touch. Both were integral to whether the finished product read as a room feature or a piece of equipment sitting inside a room. We painted the enclosure to match the existing wall color. We sourced oak to match the shelving the client already had for the computer and keyboard. The shiplap was nickel-gap, running continuous with the surrounding room.
It's a distinction that sounds minor until you're standing inside it. Then it's obvious.

The Cantilever
The room had a constraint: it was too narrow for a proper left-right-handed bay. A standard full-wall enclosure at that width would have felt tight to swing in and claustrophobic to stand inside.
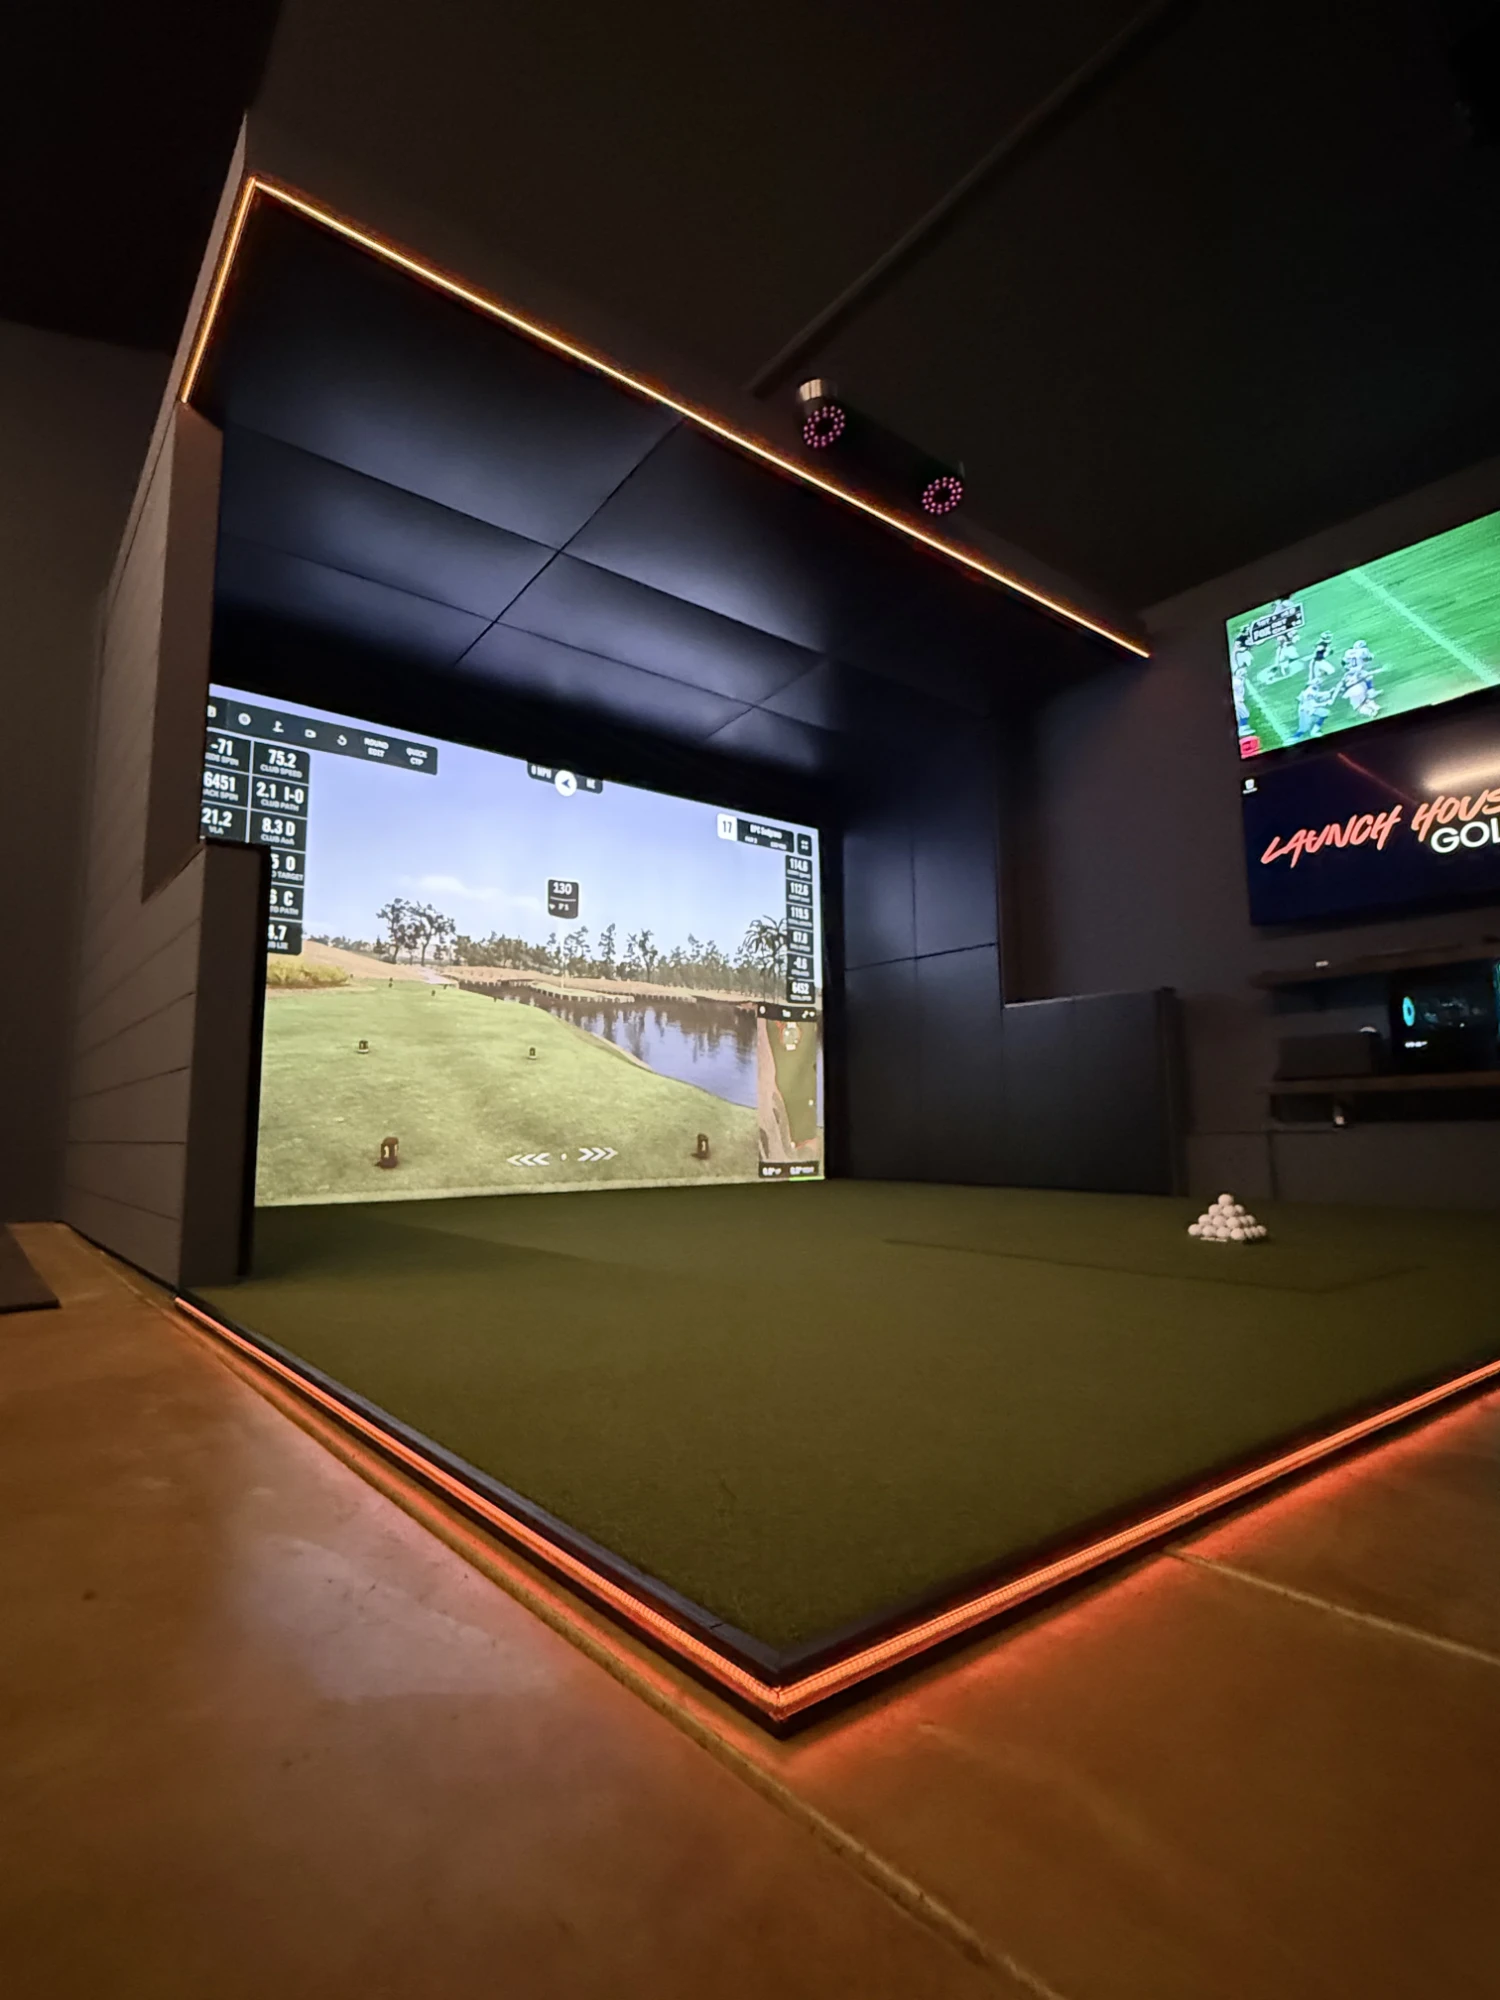
The solution was a cantilevered ceiling overhang above a set of pony walls. The pony walls define the bay perimeter. The cantilever extends out beyond them. The gap between the top of the pony wall and the underside of the cantilever is where the swing clearance lives. A lefty or a righty can take a full backswing without the club catching the enclosure wall, because the wall, at the critical height of a club in motion, isn't there.
The ProTee VX launch monitor mounts off the forward edge of the cantilever, positioned overhead as it's designed to be, without needing a separate mounting column or ceiling anchor point.

The five-degree pitch on the ceiling was the client's ask. Honestly, the team pushed back at first. Adding a slope to a cantilevered ceiling adds real complexity, and the initial read was that it wouldn't buy much visually. It was worth the push. The pitch opened the enclosure. It changed the ceiling from a flat plane sitting over the bay to something that pointed you toward the screen, that gave the space a sense of direction. A flat ceiling would have worked. This one felt intentional.
On the mount: The cantilever geometry also meant we could integrate all the launch monitor cabling inside the ceiling framing on the way to the mount point. No exposed conduit, no surface runs. The cable exits at exactly the port where the ProTee VX connects.
The Lighting
The cantilever dictated the LED design more than any deliberate choice did. Once the geometry was framed, the edge of the overhang presented a natural channel for a linear LED run. We routed it along that edge and it produced something we hadn't fully anticipated: from inside the bay, the cantilevered section of the ceiling looks like it's floating. The light coming from underneath it separates it visually from the structure behind, and what you see is this angled plane hovering over the pads.
We could have pushed further with LEDs on the walls, on the pad perimeter, in additional channels. We didn't. The restraint was the point. More lighting would have made it look like a product display. What's there makes it look like a room.

The floor LED was a different problem entirely. We wanted to run a linear LED at the base of the pad perimeter, where the pad meets the enclosure trim. Standard LED extrusion channels don't exist for this application. The floor buildup on a custom pad installation is an inch and a half. No off-the-shelf extrusion covers that gap at the right height, with the right face, with a lens profile that works for a floor-level installation.
We fabricated a custom extrusion piece. Sourced the components, modified them to fit the specific geometry, installed the channel, then the LED strip. It's one of the details people ask about every time they see the build videos. The answer, every time, is that you can't buy it. We made it.
Everything Hidden
The room had a vaulted ceiling. There was no clean way to run cables from the equipment to the screen or the projector mount by working with what was already there. Surface raceways would have been an immediate read as an afterthought on a build this considered, so they weren't an option.
Building the enclosure from scratch gave us total control. Every cable run, including power, HDMI, data, and the launch monitor connection, was planned during framing and terminated at exactly the port where it needed to be. Nothing is surface-mounted. Nothing is visible. The finished build has no raceway, no cable management clips, no bundle of wire held flat against trim with zip ties.
This is standard on every custom enclosure we build. When you're doing the framing anyway, you route the cables inside it. The cost is planning. The result is a finished product that doesn't undercut the rest of the work.
The Trim
The hardest part of the job, by time spent and by the number of things that had to be gotten exactly right, was the trim and detail work.
Framing is predictable. You can plan it in advance and it goes together to spec. Trim doesn't work that way. Every piece has to be cut and fit on-site, against the actual finished surface. A sixteenth of an inch off and you have a visible gap at a joint the client is going to look at every time they walk into the room. You can't cut trim in a shop, bring it out, and hope it all fits. It has to be done in place.
The shiplap required careful sequencing with the paint, because protecting finished surfaces from overspray while you're working on adjacent ones is its own operation. The oak cap on the pony walls had to be routed to profile on-site. The paint match took multiple samples before we had it right against the existing room walls under that particular light.
Five days on-site, and a significant share of that time was trim. That's where the build becomes finished, and where the difference between a good install and a great one actually lives.
What the Client Walked Into
There's a specific moment at handover on custom builds that doesn't happen on standard installs. The client has seen renderings. They've approved samples. They know what's coming. And then they walk into the finished room for the first time, and the rendering, which was accurate, still somehow doesn't prepare them for what they're seeing.
It's one thing to see it in a rendering and then it's one thing to walk into the room, into your room, and see your golf simulator looking better than you could have ever imagined.
Cameron Smith, Lead InstallerWhat this client walked into was a golf simulator that looked like it had always been part of the house. The enclosure reads as custom cabinetry. The lighting is architectural. The trim is the same material as the furniture already in the room. A guest who doesn't know what they're looking at might not immediately understand what they're seeing, and that's exactly the point.
A simulator that looks like it belongs in the room is not an accident. It's what happens when the design process starts with the room and works inward, rather than starting with the equipment and hoping the room cooperates.
See the full portfolio entry for this build, including additional photos and a complete spec sheet.