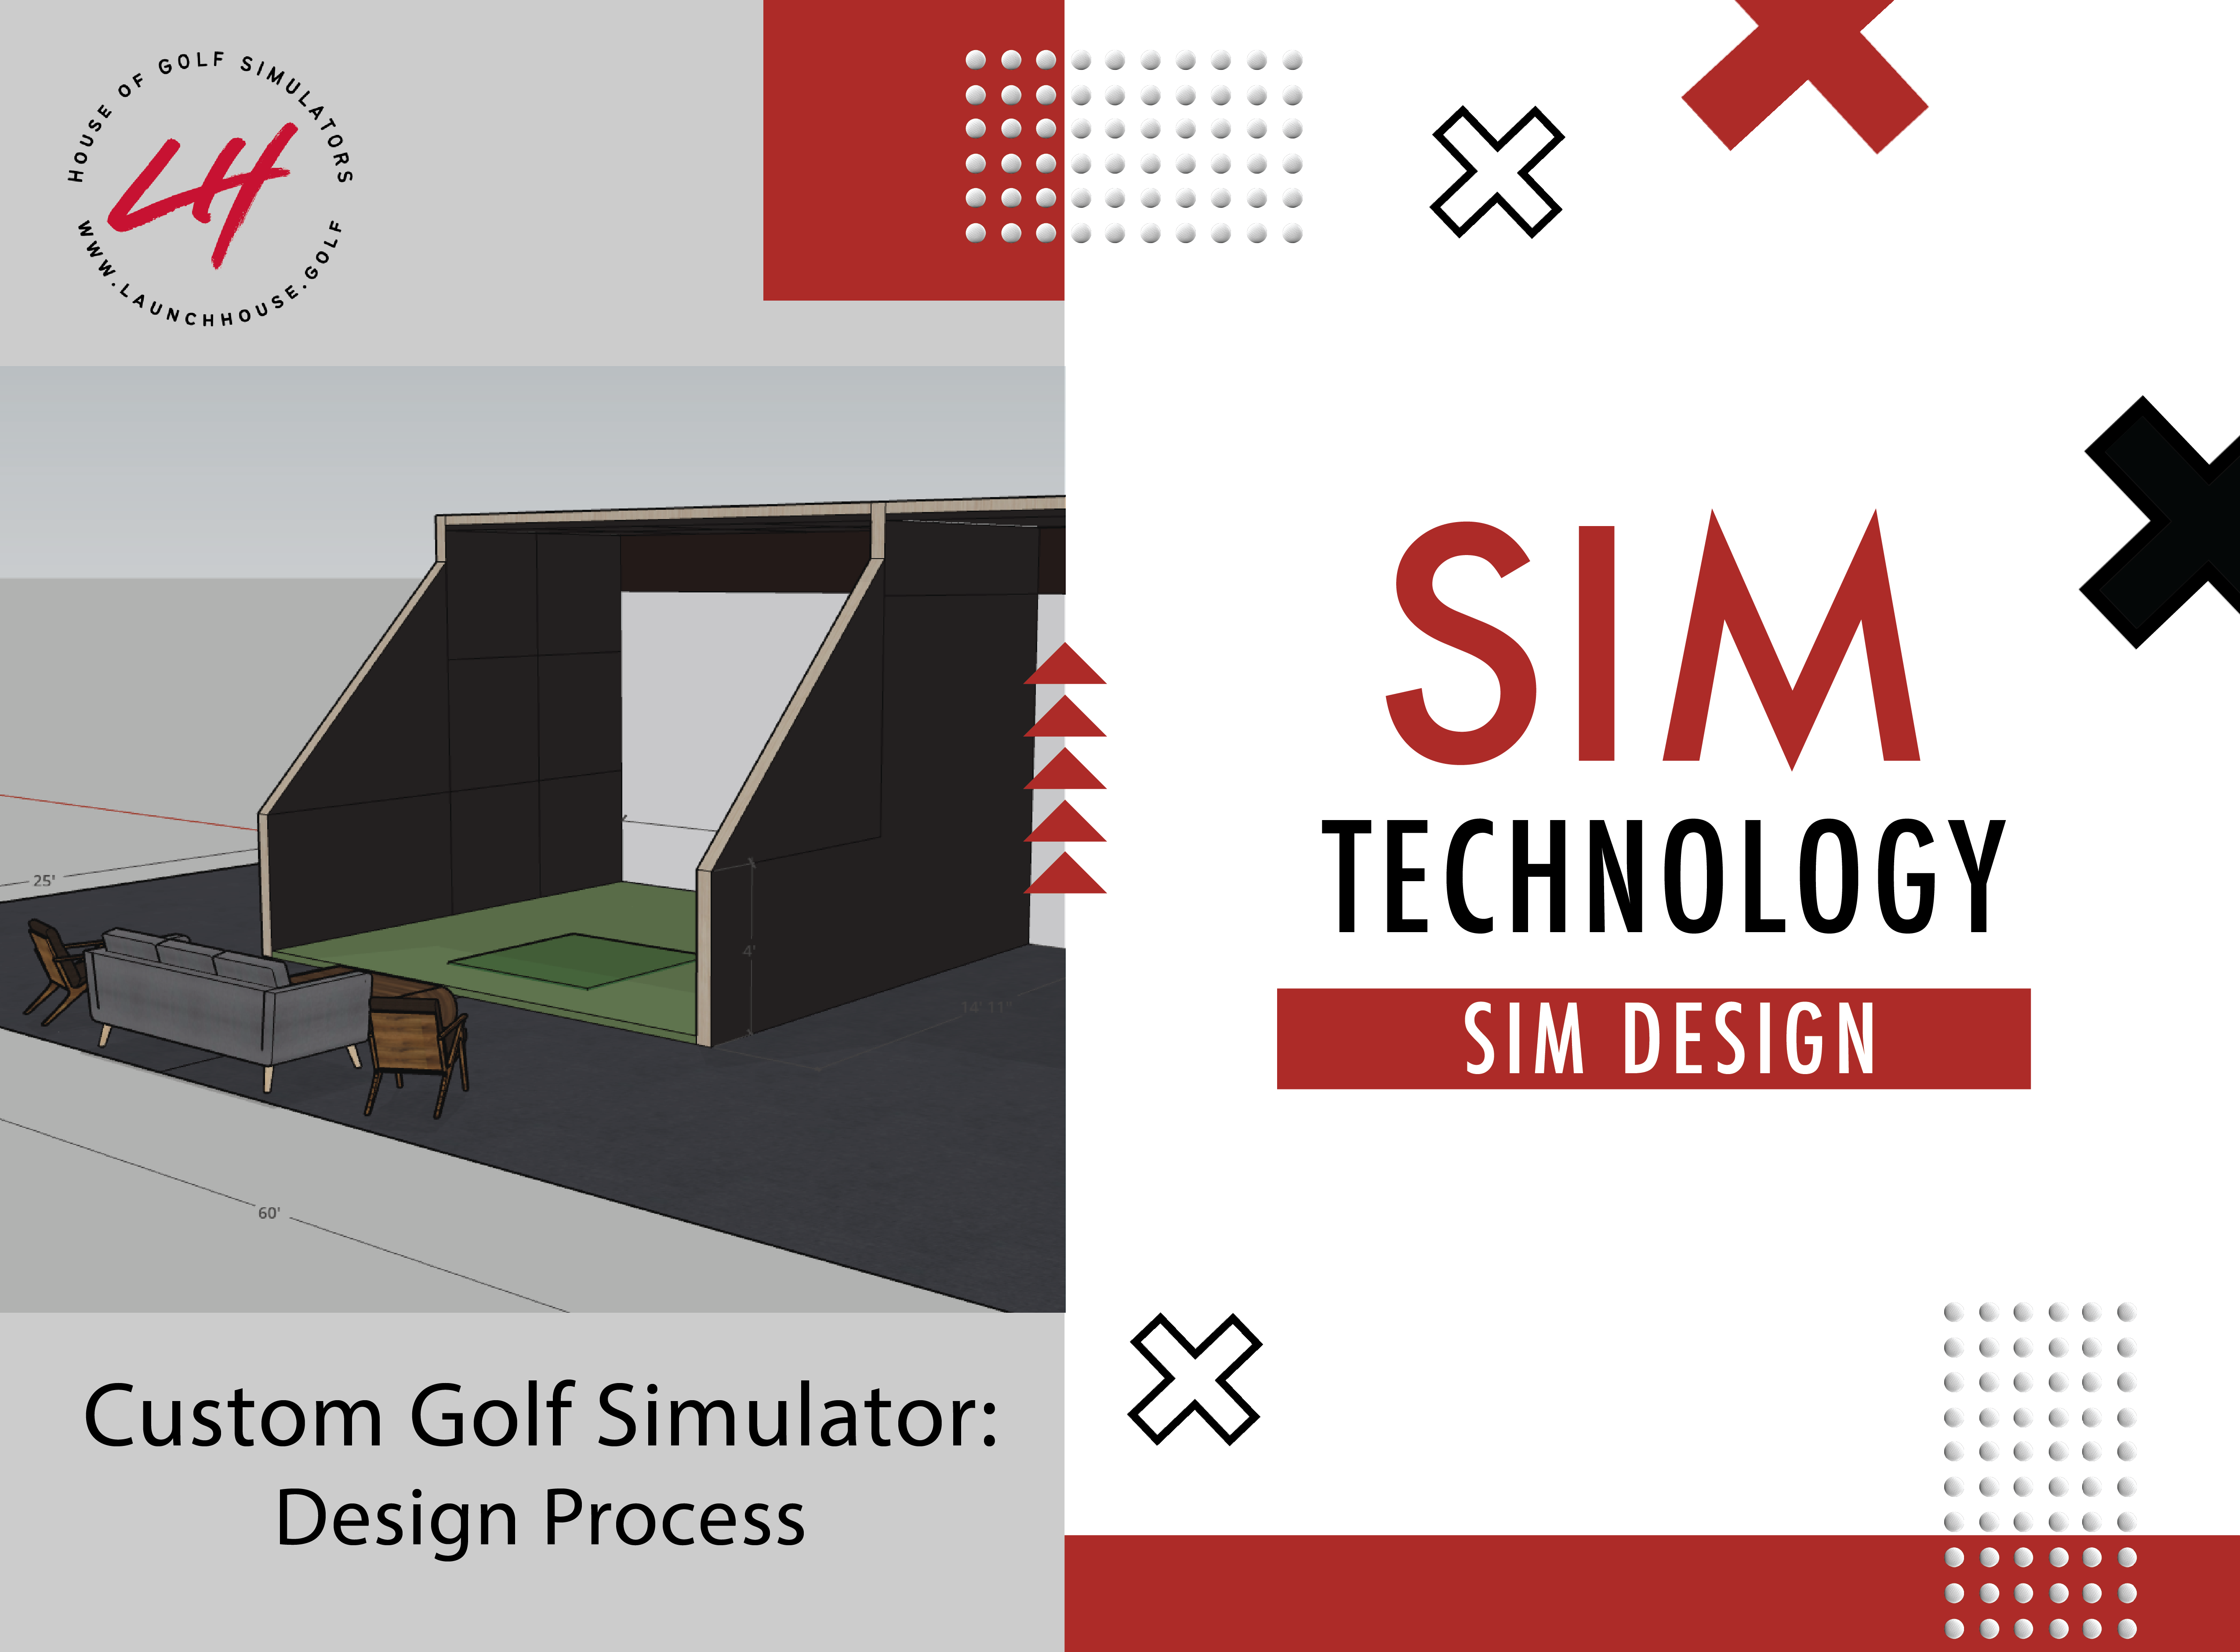
Designing a custom golf simulator setup requires careful planning to ensure the best experience for your space, budget, and needs. Whether you're setting up in a dedicated golf room or a multi-purpose space, this guide will walk you through the essential steps to create the perfect simulator setup.
Step 1: Evaluating Your Space and Key Factors
Before choosing a golf simulator, you need to assess the dimensions of the space you have available and what factors will be most important to your setup.
-
Ceiling Height: At least 9 feet is recommended to allow for a full swing. Also depending on your physical height, may need to be a 10' or 11' minimum for taller golfers.
-
Room Dimensions: Ideally, a space of at least 10 feet wide by 15 feet deep.
-
Location: Options include basements, garages, spare rooms, offices and outdoor enclosures.
-
Primary Purpose: Will this be a permanent golf room, or does the space need to be multi-functional?

Step 2: Power and Connectivity Needs
A golf simulator requires reliable power and internet connectivity for seamless operation and regular software updates.
-
Power Outlets: Ensure there are enough outlets near the setup for the simulator, projector, and launch monitor.
-
Surge Protection: Protect your equipment with a surge protector to prevent damage from power fluctuations.
-
Internet Access: A strong internet connection (above 50mbs/sec) is necessary for online play, software updates, and multiplayer modes.

Step 3: Choosing Between a Fixed or Mobile Setup
Depending on your space and lifestyle, you’ll need to decide whether a fixed or mobile setup is the best fit.
Fixed Setup
-
Best for dedicated golf rooms or basements
-
Permanent installation with high-quality enclosures
-
Always ready to use with no setup time
Mobile Setup
-
Best for shared spaces like garages or living rooms
-
Foldable, retractable, or storable enclosures like The Sportscreen
-
Takes a few minutes to set up and put away
Step 4: Selecting the Right Components
Once you’ve determined your space and setup type, it’s time to select the core components.
-
Enclosure: Choose from The Sportscreen, Carl’s Place C-Series, or a Murphy Simulator for the best fit.
-
Launch Monitor: Options like Bushnell, Uneekor, and Foresight Sports offer varying levels of accuracy and data.
-
Hitting Mat: High-quality mats provide a realistic feel of play and longterm durability.
-
Projector & Screen: Both are essential components for a fully immersive experience.
-
Software: Programs like GSPro, E6 Connect, and TGC 2019 provide realistic courses and practice modes.

Step 5: Finalizing Your Setup and Installation
-
DIY vs. Professional Installation: Some setups can be done DIY, but more advanced enclosures, like the Murphy Simulator, require professional installation.
-
Testing & Calibration: Adjust settings on your launch monitor, projector, and hitting area to ensure accuracy.
-
Customization Options: Add side netting, lighting, or additional accessories to enhance the overall playing experience.
Get Expert Help with Your Custom Golf Simulator
At Launch House Golf, we help golfers design the perfect home simulator setup tailored to their needs.
-
Need advice on choosing the right components? Contact us today.
-
Looking for professional installation? We’ve got you covered.


Share:
The Ultimate Guide to Choosing the Right Launch Monitor for Your Golf Simulator
Choosing the Right Enclosure for Your Golf Simulator